
Article directoryCloseOpen
- Importance of Lighting
- Examples of Excellence
- Frequently Asked Questions (FAQ)
- What is the rule of thirds in photography and videography?
- How can lighting affect my photos?
- What are some simple techniques to improve my photography skills?
- How do I create depth of field in my images?
- Can I apply these techniques to both photography and videography?
We will explore practical tips that can be easily implemented into your workflow, emphasizing the importance of composition, lighting, and timing. By applying this technique, you’ll learn how to create a more dynamic and engaging narrative in your work, ensuring that each shot not only looks good but also resonates with your audience.
Additionally, we’ll share examples and visuals that illustrate the transformative impact this technique can have on your projects. Highlighting the nuances of both videography and photography, the article aims to inspire creativity and technical precision. Get ready to unlock the full potential of your camera and take your skills to the next level, all through one simple technique. Whether you’re shooting a wedding, a personal project, or nature scenes, the insights shared here will help you produce stunning visuals that leave a lasting impact. Dive in, and let’s elevate your craft together!
## Understanding the Technique
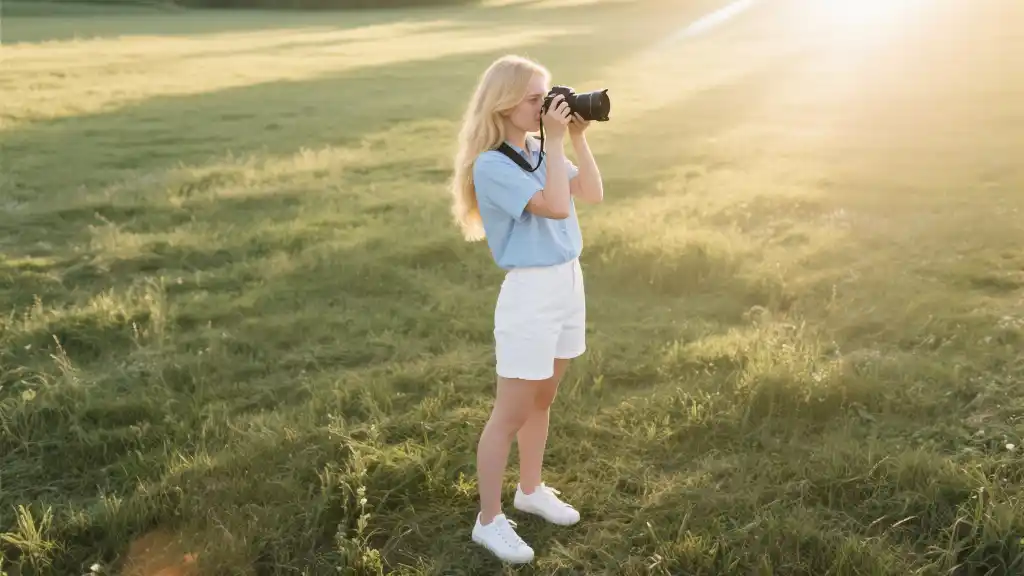
When it comes to videography and photography, there’s a myriad of techniques you can employ, but one stands out for its simplicity and effectiveness: the rule of thirds. This technique helps you create balance and interest in your compositions, making your images and videos more engaging. By simply dividing your frame into nine equal segments with two horizontal lines and two vertical lines, you can position key elements along these lines or their intersections. This naturally draws the viewer’s eye to important parts of the scene.
How to Apply the Rule of Thirds
To put the rule of thirds into practice, follow these steps:
Importance of Lighting
Lighting is another crucial element that can elevate your videography and photography. It can dramatically change the mood and tone of your work. Here are some tips to master lighting:
The Impact of Background
The background of your shots can either enhance or detract from your subjects. A cluttered background can confuse the viewer and divert attention. Here’s how to ensure your background complements your main subject:
Examples of Excellence
To further illustrate how these techniques come together, consider the following table that showcases various scenarios:
| Technique | Application | Example | Result |
|---|---|---|---|
| Rule of Thirds | Subject off-center | Landscape photography | Balanced image with dynamic composition |
| Natural Lighting | Shooting during golden hour | Portraits in soft light | Warm and inviting tones |
| Depth of Field | Using wide aperture | Close-up shots of flowers | Focus on details, blurred background |
Through these examples, it becomes clear how effective techniques can be combined to produce stunning results in both videography and photography. Each shot tells a story, and by refining your skills and understanding the nuances of composition, lighting, and background, you can captivate your audience like never before.
Improving your photography skills can be both fun and rewarding, and there are a few straightforward techniques that can make a big difference. One of the go-to strategies is the rule of thirds. This classic composition method encourages you to divide your frame into a 3×3 grid, which allows you to place your subject off-center. By positioning your main focal point along one of the grid lines or at an intersection, you can create a more compelling image that naturally draws the viewer’s eye. This simple adjustment can elevate the aesthetics of your photos and help convey the story you want to tell.
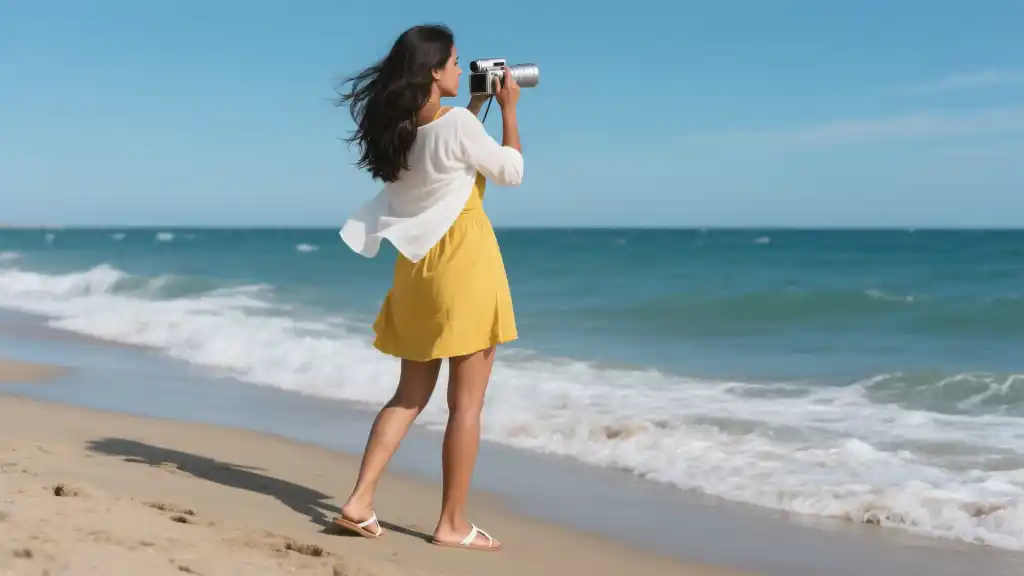
Lighting also plays a crucial role in photography, and experimenting with various conditions can yield stunning results. Natural light is often the most flattering, so take advantage of those early morning or late afternoon hours when the sun is low in the sky. This golden hour light adds warmth and softness to photos, which can enhance skin tones in portraits or create beautiful highlights in landscapes. If you’re shooting indoors or during less-than-ideal conditions, don’t shy away from using artificial lighting to brighten things up. Additionally, pay attention to the background; a clean and uncluttered setting can significantly boost the overall impact of your subject. Making these simple adjustments can really sharpen your photography skills and enable you to capture breathtaking images.
Frequently Asked Questions (FAQ)
What is the rule of thirds in photography and videography?
The rule of thirds is a composition technique that divides your frame into nine equal sections using two horizontal and two vertical lines. Placing your subject along these lines or at their intersections creates a more balanced and engaging composition.
How can lighting affect my photos?
Lighting plays a crucial role in photography and videography as it affects the mood, clarity, and overall quality of your images. Natural light, especially during golden hour, can add warmth and softness, while the use of artificial lighting can illuminate your subject effectively in darker settings.
What are some simple techniques to improve my photography skills?
Some simple techniques include using the rule of thirds for composition, experimenting with different lighting conditions, and focusing on creating a clean background that complements your subject. Practicing these can significantly enhance your skills.
How do I create depth of field in my images?
To create a shallow depth of field, use a wide aperture (small f-number), which blurs the background while keeping your subject in focus. This technique is particularly effective in portrait photography, helping to isolate the subject from a busy background.
Can I apply these techniques to both photography and videography?
Absolutely! The principles of composition, lighting, and depth of field apply to both photography and videography. Understanding these concepts can help you create visually compelling images and videos that resonate with your audience.