If you’re diving into the world of Cricut crafting, iron-on projects are a fantastic way to start. They allow for creativity without requiring extensive skills or time. Let’s explore some of the most effortless projects that even beginners can accomplish reliably and enjoyably.
Personalized Tote Bags
Creating your own tote bag is a great beginner project that’s both practical and fun. With just a piece of canvas fabric and some iron-on vinyl, you can design a unique tote that showcases your style.
These tote bags can be great gifts or used for grocery shopping, bringing a personal touch to everyday items.
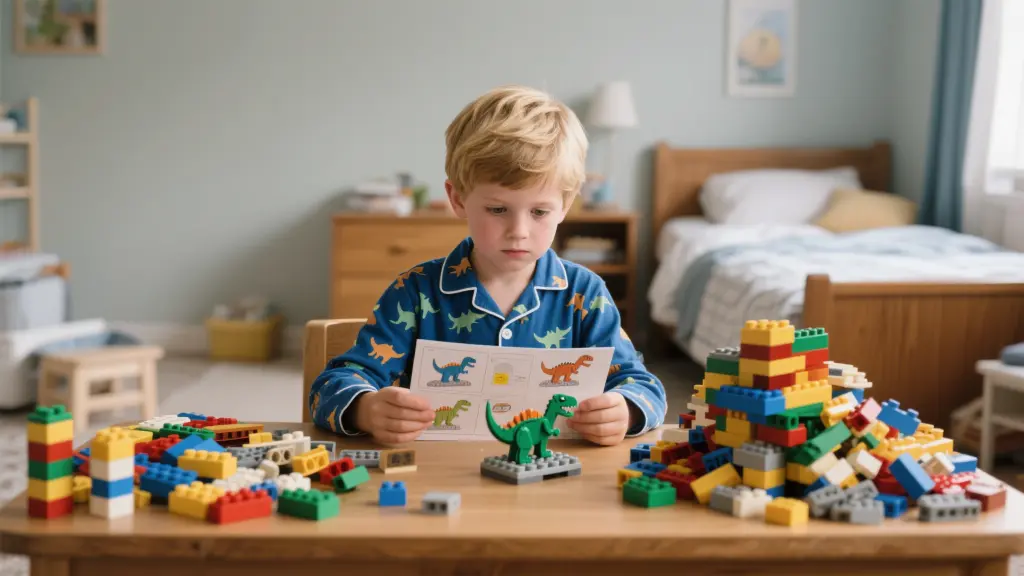
Custom T-Shirts
Another simple yet impactful project is making custom T-shirts. Personalized apparel is trendy, and with a Cricut, you can create your own designs easily.
Custom T-shirts can express your personality, celebrate occasions, or even promote an event.
Fun Home Decor Items
Transforming your living space is easier than you think with Cricut iron-on projects. Simple decor pieces like pillow covers or wall art can add a fresh vibe to your home.
These home decor items not only beautify your space but also reflect your style.

Quick Gift Ideas
When you’re short on time but need a thoughtful gift, consider iron-on projects. These ideas can make for perfect last-minute presents.
It’s all about being creative with what you have, and these projects are a surefire way to impress.
Project Planning Table
Here’s a simple planning table to help organize your projects and materials:
| Project | Materials | Skill Level | Time |
|---|---|---|---|
| Tote Bag | Canvas, Iron-on Vinyl | Beginner | 30 min |
| T-Shirt | T-Shirt, Iron-on Vinyl | Beginner | 45 min |
| Home Decor | Canvas/Pillow Cover, Vinyl | Beginner | 1 hour |
Start experimenting with these projects today! You might be surprised how much fun and satisfaction crafting can bring. Plus, you’ll have unique items to show off or give as gifts. So grab your Cricut and let’s get crafting!
To achieve optimal adhesion with your iron-on vinyl, start by making sure that the surface you’re working with is both clean and dry. This step is crucial because any dust, dirt, or moisture can prevent the vinyl from sticking properly. So, give your surface a quick wipe down to remove any potential contaminants before you begin. Once that’s done, it’s all about getting the temperature and pressure settings just right on your heat press or iron. Every vinyl type has its ideal specifications, so don’t skip over this part; following these guidelines will help ensure a secure bond.
Also, when it’s time to apply heat, remember to do it evenly across the vinyl. This means moving your iron or heat press back and forth rather than just hold it in one spot. After applying heat, let the vinyl cool off for a little while before you start peeling away the backing. If you rush this step, you might end up with a less-than-perfect finish. Lastly, always check the manufacturer’s instructions for the specific vinyl you have. Each brand can have its quirks, and adhering to those instructions can save you a lot of frustration down the line.
FAQ
What materials do I need to start with Cricut iron-on projects?
To start with Cricut iron-on projects, you will need a Cricut machine, iron-on vinyl, a heat press or iron, and the blank items you want to create designs on, such as tote bags or T-shirts. Additionally, you may want to use a weeding tool for removing excess vinyl.
How do I choose the right design for my iron-on project?
When choosing a design, consider the size of your project and the type of surface you’ll be applying the vinyl to. Simple designs with bold lines work well for beginners, while more intricate designs require more skill and patience. You can explore Cricut’s design space for pre-made templates or create your own custom designs.
How long does it take to complete a Cricut iron-on project?
The time required to complete a Cricut iron-on project varies depending on the complexity of the design and your experience level. Most beginner projects, such as tote bags or T-shirts, can typically be completed in 30 minutes to an hour, including cutting, weeding, and heat application.
Can I wash items made with Cricut iron-on vinyl?
Yes, items made with Cricut iron-on vinyl are generally machine washable. However, it’s best to wash them inside out in cold water and avoid bleach to prolong their lifespan. Always check the care instructions specific to the vinyl you are using.
Are there any tips for ensuring my iron-on vinyl adheres properly?
For the best adhesion, ensure your surface is clean and dry before applying the vinyl. Use the correct temperature and pressure setting on your heat press or iron, and apply heat evenly. Allow the vinyl to cool slightly before peeling off the backing, and always follow the manufacturer’s instructions for the specific vinyl type you are using.